
Welcome!
On this page you will find troubleshooting tips to use if you experience issues during the North Star Associates Inc. Mail Transition.
Logging into your email
You have been provided a temporary password for your North Star email. Before signing in, close any/all open tabs related to your North Star Associates Inc. email.
Open a web browser (Google Chrome, Microsoft Edge etc.) and go to Office.com or Outlook.com
Select the Sign In option and sign into your North Star Associates Inc. email
Select Sign In
Input your temporary password, you should be asked to provide a new password
Tip! Microsoft requires passwords to have a minimum of 8 characters and it must include at least three of the following: Lowercase / uppercase characters, Numbers or Symbols
“More Information is required”
What is MFA? MFA is an authentication method that requires the user to provide two or more verification factors to gain access to a resource such as an application or in this case – your email!
If you created your new password in the previous step and the login is now prompting “More Information is required” this is expected!
This requires your cell phone in order to receive either a code, notification or text to sign in!
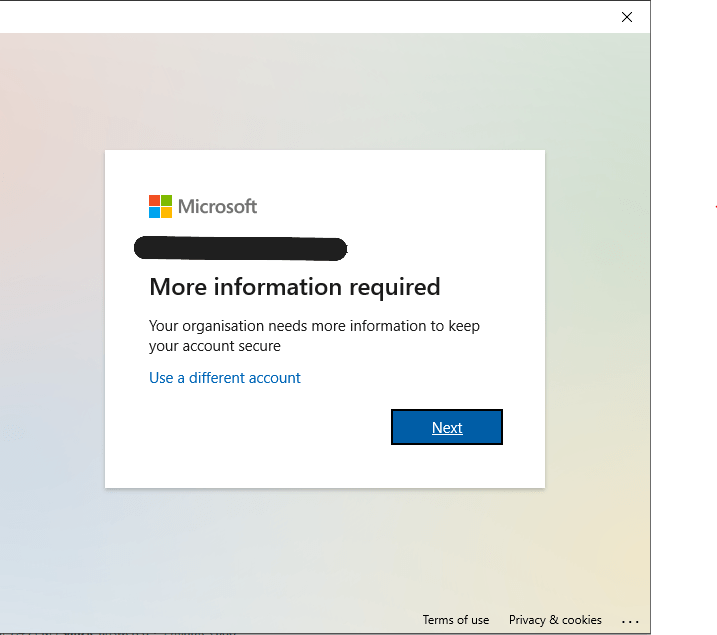
Select “Next” on your computer – You can now choose what method you would like to use. Options will include, an App (Microsoft Authenticator), Text codes, or a Phone Call
Choose the method you would like:
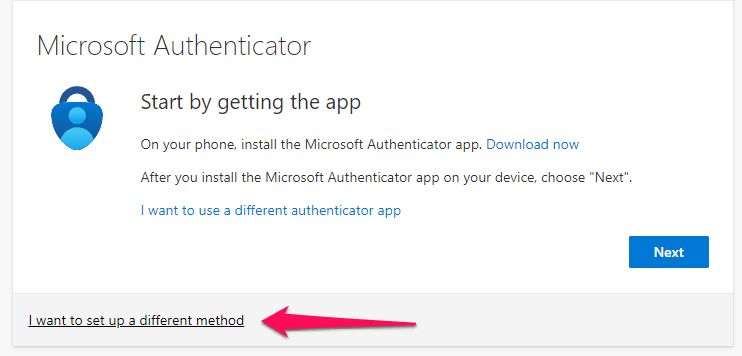
Microsoft Authenticator Set up: you will need to open your phone and install the “Microsoft Authenticator” app.
Open the Microsoft Authenticator app on your phone and select the plus icon and select Add account. Select Work or school account then tap Scan a QR Code. Your phone camera will open and you can scan the QR code displayed on your computer screen. This should automatically accept the MFA method and you can click next. Now you will receive either a notification with a code or your Microsoft Authenticator app will cycle codes that you can use.
Text Codes or Phone Call Set up: Select “Next” on the screen pictured above.
Now Select “I want to set up a different Method”
Now choose either text codes (SMS) or a phone call. Select next and input your phone number when prompted. You will now receive a phone call or text message with a 6 digit code, select next on your computer and type in the code you’ve been provided.
MFA Tips:
If the Microsoft authenticator application is prompting that your account does not exist, you should be able to go back a step on your phone and select “work or school” account (not personal)
Keep in mind the MFA method you choose will be required to sign into your email, otherwise you will not have access to login.
Text code didn’t work? Sometimes bad reception can cause delays, ensure the number typed was the 6 digit code in the body of the message, and that the phone number you provided was correct. Reach out for support if you have not received the code after 5 minutes
Common Email issues
If you are receiving an error logging into outlook.com do the following:
“Incorrect Username or Password”
Confirm that the email address is correct > once confirmed open an InPrivate / Incognito Window (Use this link to find out how to open an InPrivate window)
Follow the login steps above – If you receive the “Incorrect Username or Password” again contact your Supervisor for a password reset request
Random Errors During Sign in
If you receive an error you can reset your browser in the browser settings or try to open an InPrivate / Incognito Window (Use this link to find out how to open an InPrivate window)
If you receive the error again contact your Supervisor for an IT support request
Outlook Mobile
Please follow the computer log in steps above before using the mobile applications.
The MFA Step above may require you to open your phone camera to display a code, if you sign in on your phone first you will need to choose the text or call option as you cannot scan the QR code displayed.
If you have followed the “Logging into your email” step above, open your Outlook Application on your phone, you may be prompted to sign in, sign in using your North Star Associates email address and the password you set previously. You will receive a code as set up previously.
If you opened your email app and it did not prompt for a sign in
Select the profile picture in the top left > Choose settings > Accounts > Select your NSA Inc. account and select “remove account” on the bottom
Refresh the application (close and reopen)
Open Outlook and sign in
If you use another mail app (i.e. Apple Default Mail application) and it will not let you sign in, you may need to remove the account in the Apple Phone settings. Open the settings app and search for “Mail” Select the account and choose remove. Open the mail app and sign in.
Office Desktop Applications
If you have the full Office Suit you may need to sign out of the apps and sign back in.
To confirm if you have the desktop applications, you can use the Windows Search on the taskbar and search for “Word”. If you have the apps installed the Word application will open.
If you receive any errors in the Desktop applications follow the steps below:
Open ANY Office application (Word, Excel, PowerPoint) and choose “File” on the top left
Choose “Account” on the bottom left
Under your name, choose “Sign out”
Now Sign back in with your NSA Inc. email and new password, if your account has access to the office Desktop apps the program should sign in, you can select “Sign into all Applications”
Microsoft Teams
You may need to sign back into Teams. Open the Teams Desktop application and sign back in with your NSA Inc. email and new password,
Did you receive a prompt that Teams is out of date? That’s Okay! Open Windows settings and uninstall any mention of Microsoft Teams. Open the Microsoft Store App and install Teams.
How to Add Shared Mailboxes
Adding a shared mailbox to your Outlook Desktop App
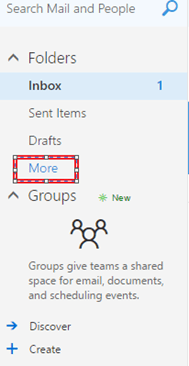
- Log into your email. If the left sidebar matches the screenshot, click on the more button. If you can already see your name in the sidebar, proceed to step 2.
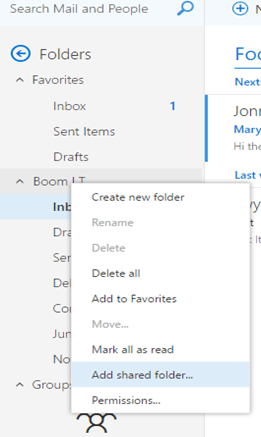
2. The sidebar should change, and you should see your name in the list, similar to the screenshot below. Right-click on your name and choose Add shared folder
3. Start typing the email address in the text box, click the email to select it once It appears in the list. Click the add button.
4. The share will add to your account and show up in the sidebar under your email.
The shared mailbox will now appear in your left-side panel!
Add Shared Mailbox Outlook Web App (outlook.com)
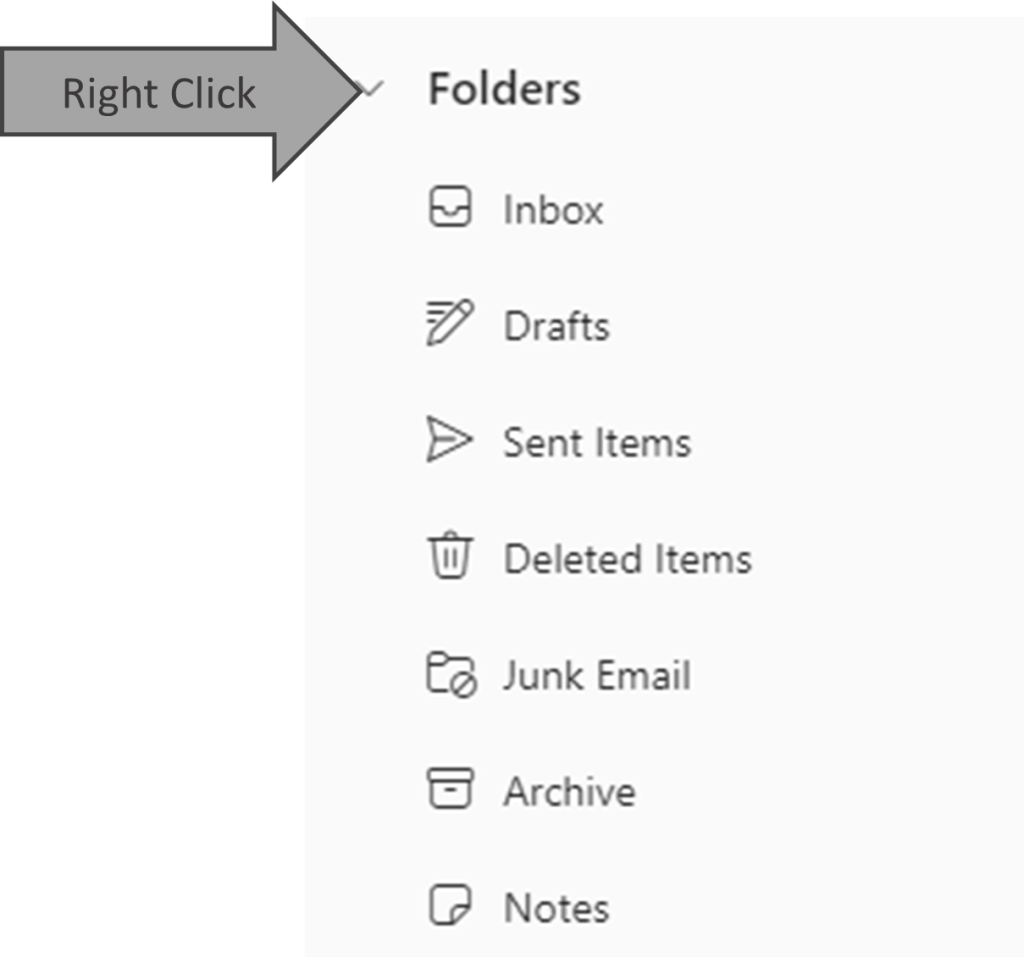
Go to Outlook.com and log into your email. If the left sidebar matches the screenshot below, right-click on the “Folders” option.
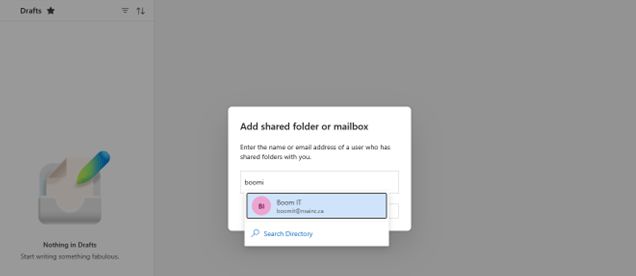
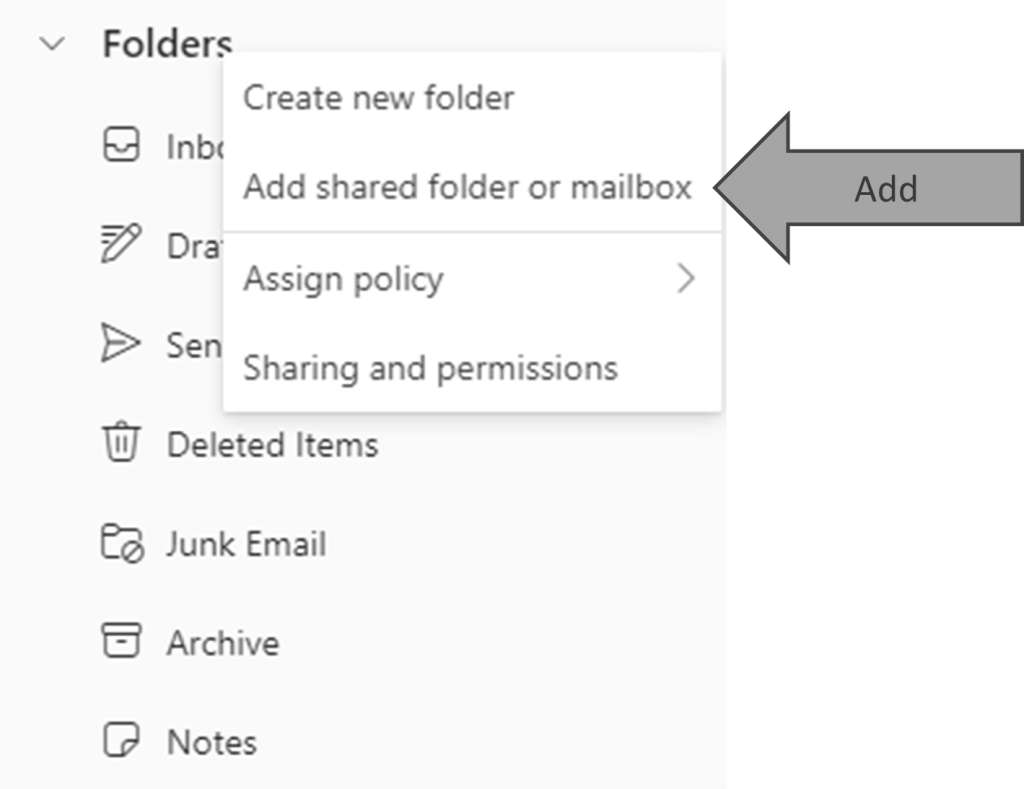
Now select “Add shared folder or mailbox.”
Enter the name of the account you have been granted access to, then select “Add”

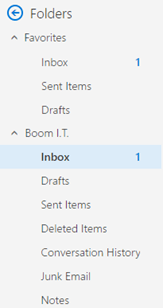
The shared mailbox will now appear in your left-side panel!
If you run into any other issues, reach out to IT for further support.
BOOM IT is available for assistance by Email at service@boomit.ca or phone 709-739-8777
If you have any other questions please contact your internal IT team or supervisor depending on the question!